 I don't write much about post-processing because I'm nowhere near an expert on the subject. In fact, I feel I'm barely competent, especially when I view the work of others who seem to be Photoshop-savants. What I don't know how to do in Photoshop could fill volumes while what I do know how to do could barely fill a small notepad.
 I'm of the opinion, however, that when they released Photoshop CS and, later, CS2, the coolest tool those crafty people at Adobe created was the Shadow/Highlight tool. If you're not routinely using this tool as part of your post-processing work you're missing out on a powerful and extremely helpful addition to Adobe's already ingenious capablilities. If I had the choice between losing overly-used and heavy-handedly-used glamour-pic tools like Diffuse Glow and having the Shadow/Highlight tool at my disposal, I'd opt for the S&H tool.
Before the Shadow/Highlight tool was released, I used to beat myself with my mouse trying to "work" the contrast, luminescence, and color with Levels or Curves adjustments while, at the same time, attempting to bring out the details in the shadows. (Alright, no jokes about beating oneself with a mouse, okay?)
 I used to think details in the shadows, as well as blown-out highlights, weren't digital photography's strongest suits. I still think blown-out highlights are problematic but the Shadow/Highlight tool goes a long way towards proving there's more detail in those shadows than I thought digital SLR's were capable of capturing. And talk about "saving" underexposed images... this tool can be a genuine image-saver (or should i say, "image saviour?") when it comes to recovering from exposure-related brain farts!
I really like creating highlights and shadows when lighting for pretty girl pics. That whole chiaroscurro thing adds plenty of drama, dimension, and sexy dynamics to glamour shots. Maybe there's a time and place for flatter lighting but, for the most part and in my opinion, the studio isn't the time or the place. You bought the lights, right? Why not use them to add depth and drama to your captures instead of lighting your models like they're in a brightly and evenly lit department store?
Unfortunately, creating shadows sometimes means sacrificing some of the detail in them, the shadows that is-- details I'd rather be able to see, at least to some degree. Leastwise, that's what I used to think.
 Adobe's Shadow/Highlight tool proves there's more detail captured in the shadows than, seemingly, meets the eye. Although I'm still learning and refining my application of the Shadow/Highlight tool--and my skills in using it are nowhere near where I hope they'll end up being--I stongly suggest you do the same! You can use this tool in its simplest form or you can check the "show more options" box and really have control over it.
The Shadow/Highlight tool is found by opening Image>Adjustments>Shadow/Highlight. Try playing around with it. I suggest you also Google for info about this tool using Google's "Advanced Search" and typing in the words "shadow" and "highlight" and "tutorial" in the "with all the words" box. Some time ago, I did so and discovered there are plenty of free tutorials available on the web designed to help PS users understand and apply this powerful PS tool.
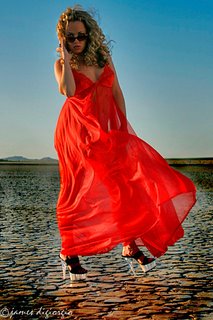
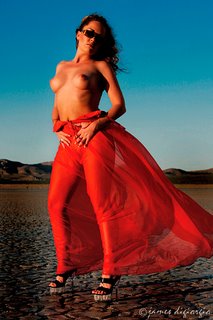
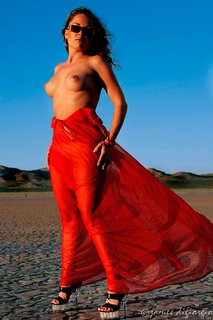
The images posted along with this latest bit of photo-babble are of model Kori Rae. They really don't have anything to do with the subject of this update. (What? I'm supposed to always have examples of what I'm talking about? Shoota please!) I snapped these about a year ago at El Mirage Dry Lake Bed near Victorville, California. It was late in the day and the light was changing quickly when these shots were captured. I didn't have the time or feel the need to use anything to modify the sunlight. I love going on photo-field-trips to places like dry lake beds! I want to go back there soon!

2 comments:
Dunno where s/h works into your workflow, but if I have an under exposed image I use s/h first then adjust the levels. I find that s/h can tend to boost the saturation in the skin tones and then bringing up the brightness in levels returns it mostly back to a sane level. How do you use it? Anyone have any other suggestions or ideas?
-James
james-- when i first started using S/H i was using it AFTER a levels adjust. Now, I agree with the way you're doing it. I've found it's more effective to use it first and that's what I've been doing for some time now. I dunno if that's right or wrong or what the experts would say but using it first seems to work best for me.
Post a Comment